How to Clean a Suppressor: Step-by-Step Guide 2026
Last updated: July 12, 2026 · Originally published: April 16, 2026
In This Article
- Understanding Suppressor Fouling: Rimfire vs. Centerfire
- Cleaning Schedule by Suppressor Type
- Tools and Materials for Suppressor Cleaning
- Step-by-Step Rimfire Suppressor Cleaning Procedure
- Centerfire Suppressor Cleaning Procedure
- Wet Suppression vs. Cleaning: What’s the Difference?
- Solvent Safety and Disposal
- Maintaining Warranty During Cleaning
- Common Cleaning Mistakes to Avoid
- Key Takeaways
- Get Your Suppressor — Delivered to Your Door
- Products and Brands Mentioned
- Official Resources
- Frequently Asked Questions

Understanding Suppressor Fouling: Rimfire vs. Centerfire
Suppressor cleaning depends entirely on ammunition type. Rimfire and centerfire ammunition produce vastly different amounts of internal fouling, which determines whether cleaning is necessary.
Rimfire Suppressor Fouling
.22 LR and .22 WMR ammunition produces heavy lead fouling. Rimfire bullets are made of lead (not jacketed like centerfire), and the high volume, low velocity, and rimfire design all contribute to lead deposition inside suppressor baffles.
After just 500 rounds through a rimfire suppressor, internal baffles accumulate visible lead buildup. This fouling has two consequences:
- Performance degradation: Lead buildup blocks internal chambers, reducing suppressor effectiveness and increasing sound levels.
- Baffle erosion: Lead deposits can harden and corrode internal baffles if left uncleaned, eventually damaging the suppressor permanently.
Regular cleaning removes this fouling, maintaining performance and extending suppressor service life.
Centerfire Suppressor Fouling
Centerfire ammunition (9mm, .300 BLK, .308, etc.) produces far less fouling because the bullets are fully or partially jacketed. Jacketed bullets don’t deposit lead inside suppressors. Carbon and copper residue from firing is minimal and doesn’t significantly affect performance.
Sealed centerfire suppressors (the BANISH line, for example) rarely require cleaning. If performance degrades after thousands of rounds, cleaning may be necessary, but it’s not routine maintenance.
Cleaning Schedule by Suppressor Type
When should you clean your suppressor? Follow these guidelines based on suppressor type and caliber.
Rimfire Suppressors (.22 LR, .22 WMR)
Cleaning frequency: Every 500 rounds.
Rimfire suppressors accumulate heavy lead fouling. Clean after every 500 rounds of shooting. If you notice performance degradation sooner (shots get louder, less suppression), clean immediately.
Pistol Suppressors (9mm, .45 ACP)
Cleaning frequency: Every 1,000–2,000 rounds.
Pistol suppressors produce minimal fouling but benefit from periodic cleaning. For intensive training (1,000+ rounds per session), clean every 1,000 rounds. For casual use, cleaning every 2,000 rounds is sufficient.
Rifle Suppressors (.300 BLK, .308, 5.56)
Cleaning frequency: Every 2,000–5,000 rounds or as needed.
Sealed rifle suppressors rarely require cleaning. Monitor performance—if sound reduction decreases noticeably, it’s time to clean. Many shooters use sealed rifle suppressors for 5,000+ rounds without cleaning.
When Performance Suggests Cleaning Is Needed
Regardless of round count, clean your suppressor if you notice:
- Sound levels increasing (suppressor becomes noticeably louder).
- Excessive back-pressure (increased gas blowback in your face when shooting).
- Visible lead buildup on the suppressor exterior.
- Performance degradation across multiple shooters and firearms.
Tools and Materials for Suppressor Cleaning
Proper cleaning requires the right tools. Most are inexpensive and readily available from firearms retailers or online.
Essential Tools
- Bore brush: A .30 caliber or .22 caliber brush (depending on suppressor bore) is essential for scrubbing fouling. Stainless steel brushes are more durable than brass.
- Solvent: Use proven firearm solvents: Hoppe’s #9, Slip 2000 CLP, or Ballistol. Avoid aggressive solvents that may damage internal seals.
- Cotton patches or cleaning cloth: For wiping down baffles and the suppressor interior after scrubbing.
- Nitrile gloves: Protect your hands from solvent and lead residue.
- Workspace: Use a clean, flat surface protected with newspaper or a cleaning mat to contain solvents.
Optional but Recommended
- Ultrasonic cleaner: An ultrasonic cleaner ($50–150) dramatically improves cleaning effectiveness, especially for rimfire suppressors. Submerge the baffle stack in solvent and run for 15–20 minutes. The vibrations dislodge stubborn fouling better than hand scrubbing.
- Nylon brush: Gentler than stainless steel for delicate suppressor internals.
- Pipe cleaners: Useful for cleaning small passages within baffle stacks.
- Dental picks: Help dislodge stubborn lead buildup.
Step-by-Step Rimfire Suppressor Cleaning Procedure
Rimfire suppressors are the most commonly cleaned. This procedure works for most rimfire suppressor models, including BANISH 22 (Silencer Central).

Step 1: Unscrew the End Cap
Most rimfire suppressors have a removable end cap (the front piece). Using a suppressor wrench or a cloth-wrapped adjustable wrench, carefully unscrew the end cap counterclockwise. The cap may be tight—apply steady pressure rather than jerking, which can damage threads.
Place the end cap on a clean surface. Do NOT lose it.
Step 2: Remove the Baffle Stack
Once the end cap is removed, the baffle stack (the internal assembly) may slide or pop out. Some designs require gentle pulling; others have a retaining spring. Consult your suppressor’s manual for specific removal procedure.
Handle the baffle stack carefully—it’s the heart of the suppressor and can be damaged by dropping or excessive force.
Step 3: Soak the Baffles
Place the baffle stack in a container (a plastic bowl or jar works well) and cover with solvent. Allow the baffles to soak for 30–60 minutes. This soaking loosens caked lead and carbon, making scrubbing more effective.
For stubborn fouling, increase soak time to 1–2 hours or use an ultrasonic cleaner for 15–20 minutes.
Step 4: Scrub With a Bore Brush
Remove the baffles from solvent and use a bore brush to scrub away fouling. Work the brush in and out of each baffle chamber, rotating as you scrub. Focus on areas with visible lead buildup.
Scrub thoroughly but gently—you’re removing fouling, not etching the baffle surfaces. The process should take 5–10 minutes of steady scrubbing.
Step 5: Rinse With Clean Solvent
Wipe down the baffles with fresh solvent on a cotton patch or cloth. This removes loosened fouling particles. Repeat with fresh patches until patches come away clean (no visible lead or carbon).
If an ultrasonic cleaner is available, skip hand scrubbing and instead place clean baffles in the ultrasonic with fresh solvent for a final 10-minute cycle to ensure all fouling is removed.
Step 6: Dry Completely
This is critical: the suppressor must be completely dry before reassembly and firing. Use clean cotton patches to dry the baffle stack inside and out. Wipe until no solvent residue is visible.
Allow the baffles to air-dry for 24 hours on a clean surface to ensure all remaining solvent evaporates. Do NOT reassemble or fire with moisture or solvent remaining inside—it creates dangerous pressure.
Step 7: Reassemble the Suppressor
Once completely dry, reinsert the baffle stack into the suppressor body. Verify it’s seated fully (should be flush or nearly flush at the rear).
Screw the end cap back on by hand first, then use a suppressor wrench to tighten to snug (firm hand-tight). Do not over-tighten—you’re sealing the suppressor, not stripping threads.
Step 8: Test Before Live Fire
Before firing, visually inspect for any remaining solvent inside the suppressor. If you see liquid, the suppressor is not ready—allow it to air-dry longer.
Fire a test shot at the range and listen for normal suppression performance. If sound levels are back to pre-fouling levels, cleaning was successful.

Centerfire Suppressor Cleaning Procedure
Sealed centerfire suppressors rarely require cleaning, but if needed, the procedure differs slightly.
Check the Manual First
Some centerfire suppressors (especially premium models) are not user-serviceable. Consult your suppressor’s manual or contact the manufacturer before disassembling. Some warranties cover only sealed units—opening them may void coverage.
If Disassembly Is Approved
If your suppressor is user-serviceable:
- Remove the end cap (if removable) using a suppressor wrench.
- Soak the baffle stack in solvent for 15–30 minutes.
- Use a bore brush to gently scrub fouling (less aggressive than rimfire, as centerfire fouling is lighter).
- Rinse with fresh solvent until clean.
- Dry thoroughly (24 hours air-dry).
- Reassemble and test.
Important: If your centerfire suppressor is sealed and the manual prohibits disassembly, do NOT attempt to open it. Contact the manufacturer or a qualified gunsmith for cleaning if performance degrades.
Wet Suppression vs. Cleaning: What’s the Difference?
Wet suppression and suppressor cleaning are often confused. They’re different operations.
Suppressor Cleaning
Cleaning removes accumulated fouling (lead, carbon, copper residue) to restore performance and prevent component erosion. It’s maintenance.
Wet Suppression
Wet suppression adds water or oil to the suppressor’s baffle stack immediately before firing to improve first-round sound reduction. It’s a performance enhancement for that single shot.
You can do both: clean a suppressor for maintenance, then add water before shooting for enhanced first-round performance. But they serve different purposes.
Solvent Safety and Disposal
Firearm solvents are toxic. Handle them safely.
Safety Precautions
- Wear nitrile gloves to protect skin.
- Work in a well-ventilated area (outdoors or a garage with doors/windows open).
- Do NOT inhale fumes—avoid bringing your face close to solvent containers.
- Keep solvents away from children and pets.
- Do NOT consume food or drink while handling solvents.
Disposal
Never pour firearm solvent down the drain. Instead:
- Allow to evaporate: Place used solvent in a shallow pan in a well-ventilated area and allow to evaporate completely (1–2 days).
- Local disposal: Contact your local hazardous waste facility for proper disposal instructions.
- Recycling: Some gun ranges and firearms retailers accept used solvent for proper recycling.
Maintaining Warranty During Cleaning
BANISH suppressors (and most premium suppressors) come with lifetime warranties. Can you clean your suppressor without voiding the warranty?
Yes, with proper procedure. User cleaning is generally acceptable, but:
- Follow the manufacturer’s cleaning procedure (found in the manual or on the manufacturer’s website).
- Do NOT attempt repairs or modifications beyond simple cleaning.
- Do NOT disassemble sealed suppressors (unless explicitly approved by the manufacturer).
- If cleaning is not recommended or prohibited, contact the manufacturer for service instead.
BANISH suppressors are designed with user maintenance in mind—rimfire models have removable baffles specifically to enable routine cleaning. Lifetime warranty coverage includes cleaning-related service, so you’re protected.
Common Cleaning Mistakes to Avoid
These mistakes can damage your suppressor or reduce effectiveness:
Firing With Solvent Inside
Mistake: Reassembling and firing before complete drying.
Consequence: Residual solvent creates dangerous pressure buildup, potentially damaging the suppressor or causing unsafe operation.
Solution: Always allow 24 hours for air-drying after cleaning.
Over-Tightening the End Cap
Mistake: Tightening the end cap with maximum force.
Consequence: Stripped threads make the cap impossible to remove without damage in the future.
Solution: Tighten to snug (firm hand-tight). A suppressor wrench provides leverage for a firm grip without over-tightening.
Using Aggressive Solvents
Mistake: Using brake cleaner, carb cleaner, or other non-firearms solvents.
Consequence: Aggressive solvents can damage internal seals, baffles, or finishes.
Solution: Use only proven firearm solvents like Hoppe’s #9, Slip 2000, or Ballistol.
Dropping or Force-Removing the Baffle Stack
Mistake: Jerking the baffle stack out or dropping it during removal.
Consequence: Damage to baffles or retaining mechanisms.
Solution: Gentle, steady removal with proper support. Consult the manual for specific removal procedure.
Key Takeaways
Suppressor cleaning is straightforward and essential only for rimfire models. Rimfire suppressors require cleaning every 500 rounds to prevent lead fouling and maintain performance. Centerfire suppressors rarely need cleaning unless performance degrades noticeably.
Always consult your suppressor’s manual for specific cleaning procedures. Dry the suppressor completely (24 hours) before reassembling and firing. Use proper firearm solvents and dispose of used solvent responsibly. With routine maintenance, your suppressor will maintain performance and warranty coverage for a lifetime of use.
Get Your Suppressor — Delivered to Your Door
Silencer Central handles all NFA paperwork and delivers your suppressor direct to your door. Visit SilencerCentral.com and enter the 100 Days of Silence giveaway for your chance to win a free suppressor.

Products and Brands Mentioned
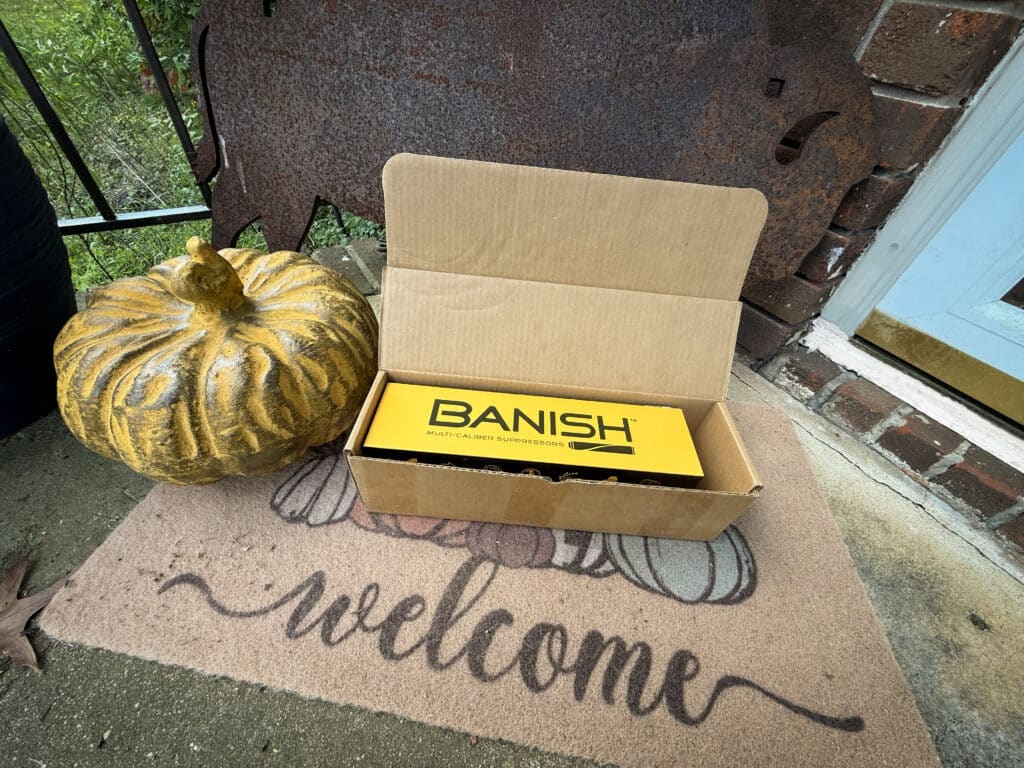
- BANISH 22 (rimfire suppressor)
- BANISH 30 (rifle suppressor)
- BANISH 45 (Silencer Central) (pistol suppressor)
- Hoppe’s #9 (firearm solvent)
- Slip 2000 CLP (solvent/lubricant)
- Ballistol (multi-purpose solvent)
- Suppressor wrenches (various manufacturers)
- Ultrasonic cleaners (various manufacturers)

Official Resources
Frequently Asked Questions
How often should I clean my suppressor?
Cleaning frequency depends on suppressor type: Rimfire suppressors need cleaning every 500 rounds (significant lead fouling from unjacketed bullets); pistol suppressors every 1,000–2,000 rounds; rifle suppressors rarely (every 2,000–5,000 rounds or as needed). Sealed centerfire suppressors rarely require cleaning unless performance degrades. Always check the manufacturer’s guidance for your specific model.
Can I use any solvent for suppressor cleaning?
Use proven firearm solvents: Hoppe’s #9, Slip 2000 CLP, or Ballistol are safe and effective. Avoid aggressive solvents like brake cleaner or carb cleaner, which may damage internal seals or baffles. For rimfire suppressors with heavy lead fouling, soak the baffles in solvent for 30–60 minutes to loosen buildup. Do NOT use pressure washers or submerge suppressors in water unless explicitly designed for wet use.
What is the difference between cleaning and wet suppression?
Cleaning removes fouling (lead, carbon, copper residue) from the suppressor’s internal baffles to restore performance and prevent erosion. This is maintenance. Wet suppression adds water or oil to the baffle stack before firing to improve first-round sound reduction for that specific shot. They serve different purposes: cleaning is maintenance; wet suppression is a temporary performance enhancement.
Do sealed centerfire suppressors need cleaning?
Sealed centerfire suppressors rarely need cleaning because centerfire ammunition produces minimal lead fouling (bullets are jacketed). However, if performance degrades noticeably (sound reduction decreases, shooting becomes louder), cleaning may be necessary. Consult your suppressor’s warranty for specific guidance—some manufacturers prohibit user disassembly.
Can I fire a suppressor with solvent inside?
Never fire a suppressor with solvent remaining inside. Residual solvent can create dangerous pressurization and expel liquid, potentially damaging the suppressor. Always allow the suppressor to dry completely after cleaning before firing. Dry the baffles thoroughly with patches and allow 24 hours for any remaining solvent to evaporate. Confirm dryness before use.
Related guides: suppressor maintenance guide, how wet suppressors work, and common suppressor myths.